
Are you looking to rank higher on Google and interested in optimizing your site for search engine optimization (SEO)? This is where you need to get started.
Don't worry, this does not require any coding skills. But small changes here will help you a long way in better organization of your website and ranking on search engines.
The above is made possible by connecting our website to the Google Search Console. Here is a simple step-by-step guide you need to follow.
Step 1
Get a Google account if you don't have one. That's the only requirement to use Search Console. 😄
Step 2
Open Search Console, and add a property (your website URL) from the top left of your console. You can add your website to the Search Console as a Domain Property (indexly.ai) or as URL Property (https://indexly.ai) as shown in the screenshot below.
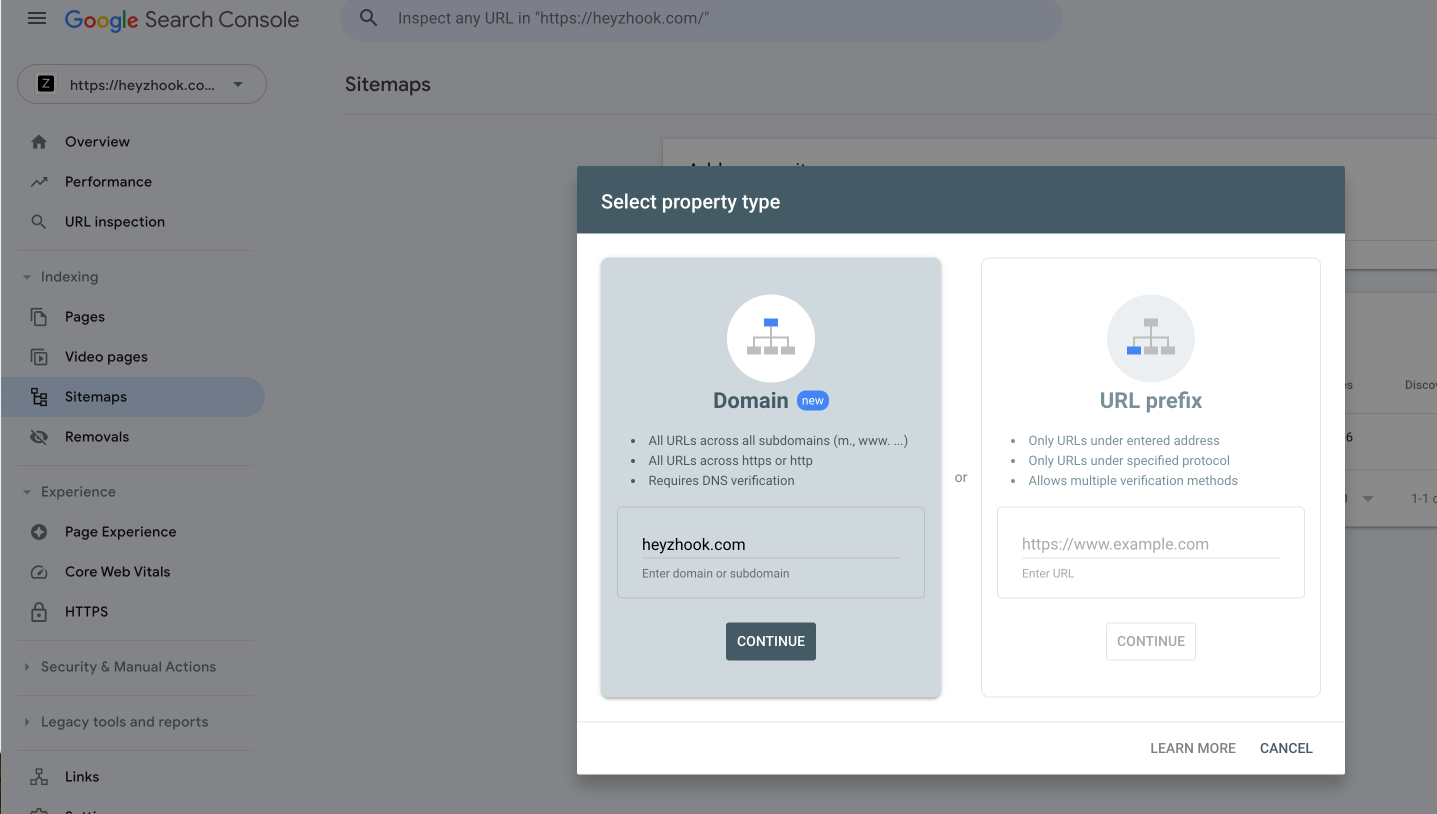
Note: You'll need to prove that you are the owner of your website, because Search Console shows information about your site that only site owners should see, and allows you to make changes that can affect how your site appears on Google.
Step 2a: Verify Domain Property ownership
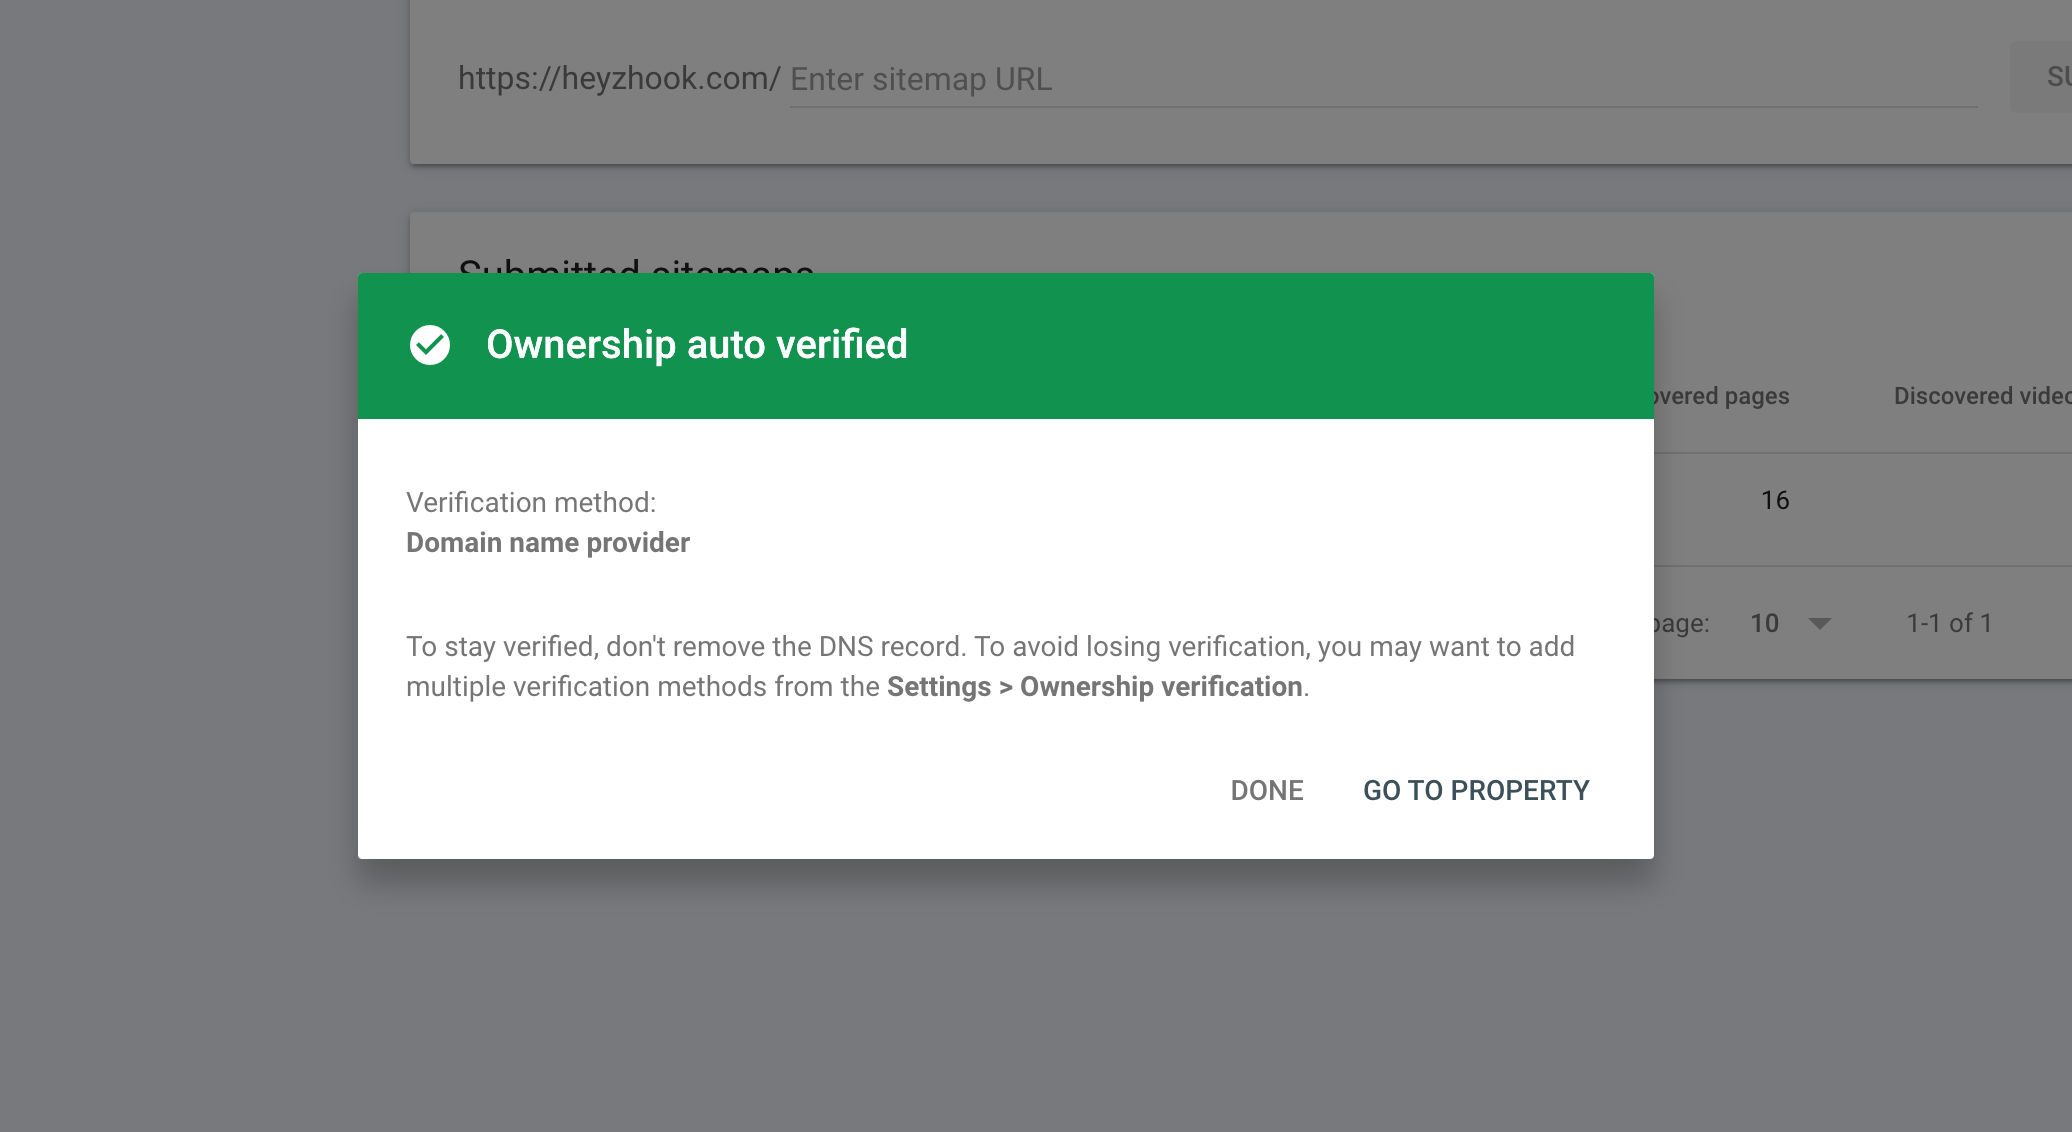
Click on Continue to verify ownership of your domain. If you have logged into the Google Search Console with the email (in our case hello@indexly.ai) from the same domain (indexly.ai), Google Search Console understands your ownership and confirms the same.
Once the Google Search console confirms your ownership, you will see the below confirmation message.
Step 2b: Verify URL Property ownership
When you have entered the URL Property (eg: https://indexly.ai), click on Continue. There are several ways to verify your site, but the simplest way is to add an HTML tag to the home page of your website.
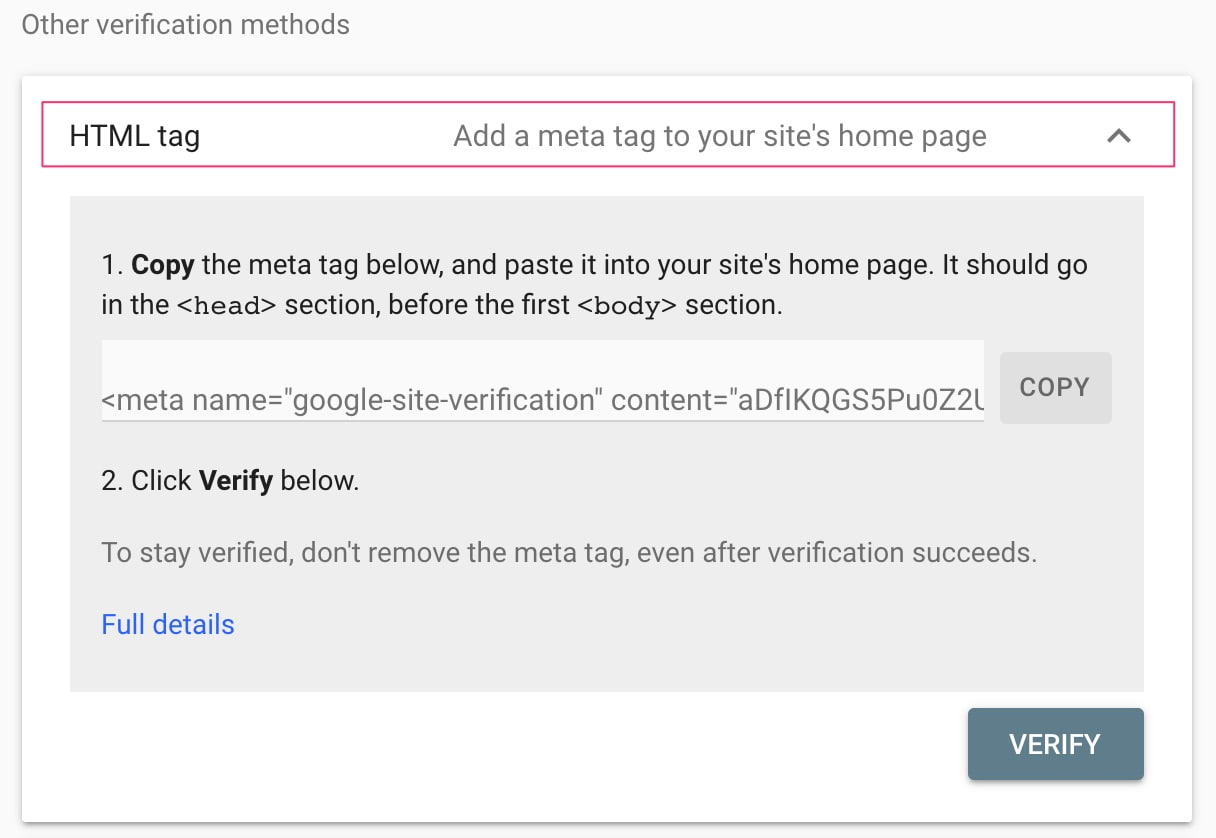
Copy <meta name "google-site-verification" content="aDfIK..."> to your website and click Verify. Google will check your URL for the availability of meta tags for successful verification.
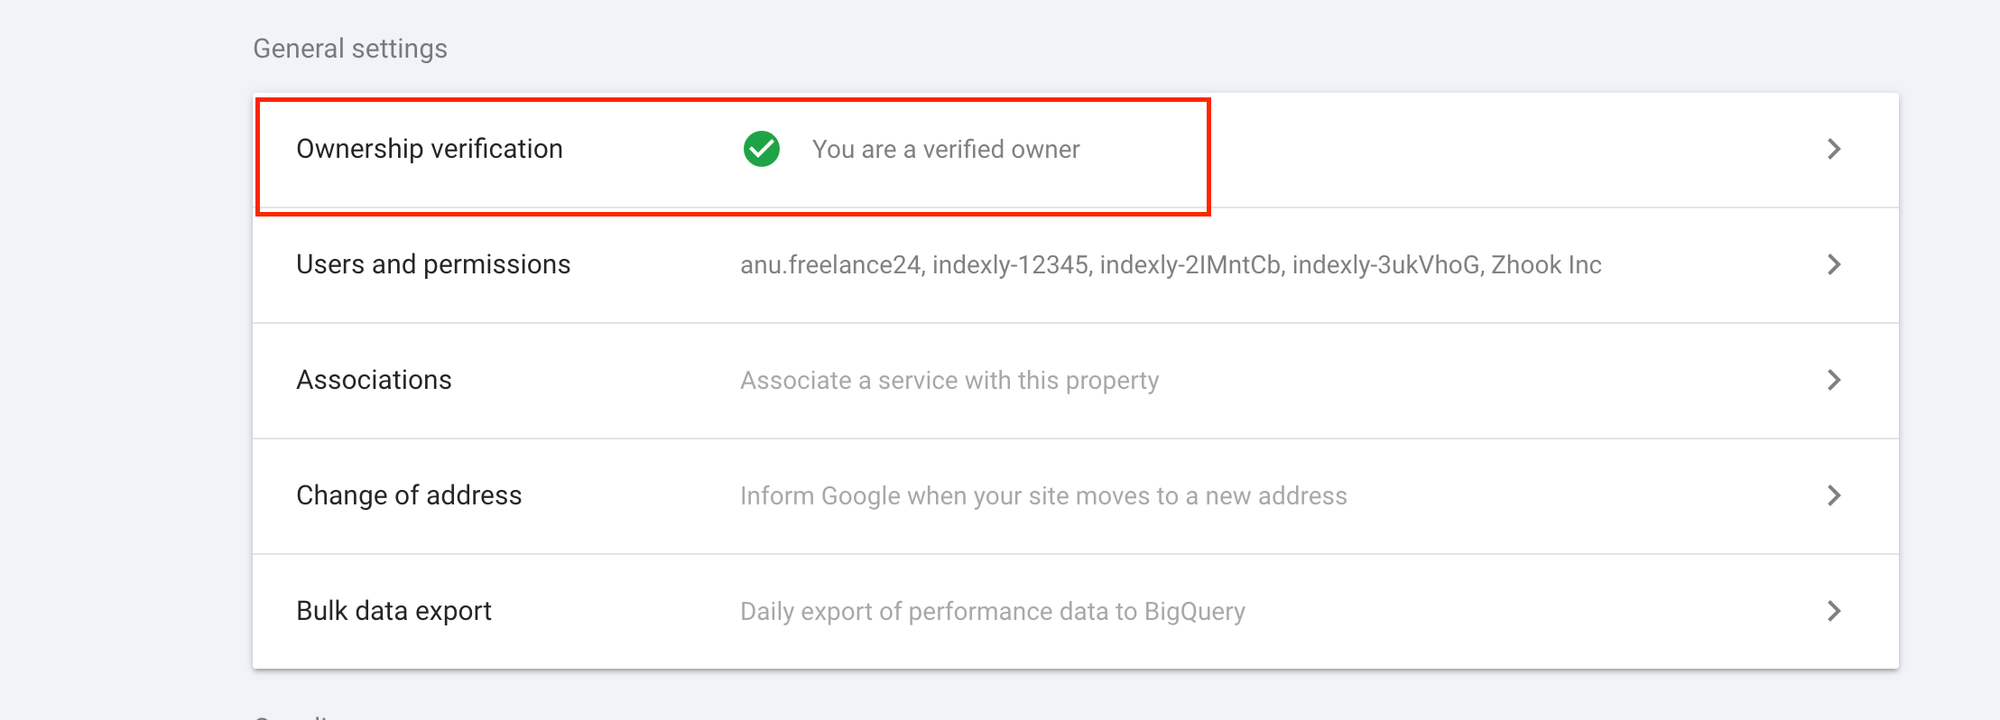
Another way to confirm if your verification is successful is to browse to the Google Search Console > Settings and check the Ownership verification section to verify Ownership.
Step 3
Now it's time to add your sitemap to the Google Search Console. Sitemaps make it easier for search engines to understand your site structure. Google also picks up new pages from your sitemap to display page analytics and indexing status.
Here's how you add a sitemap to the Google Search Console. Go to the Google Search Console > Sitemap section and add your XML sitemap path. Sitemap URL is different for every website, for instance, if you are on WordPress, your sitemap is located at https://<yourdomain.com>/sitemap_index.html
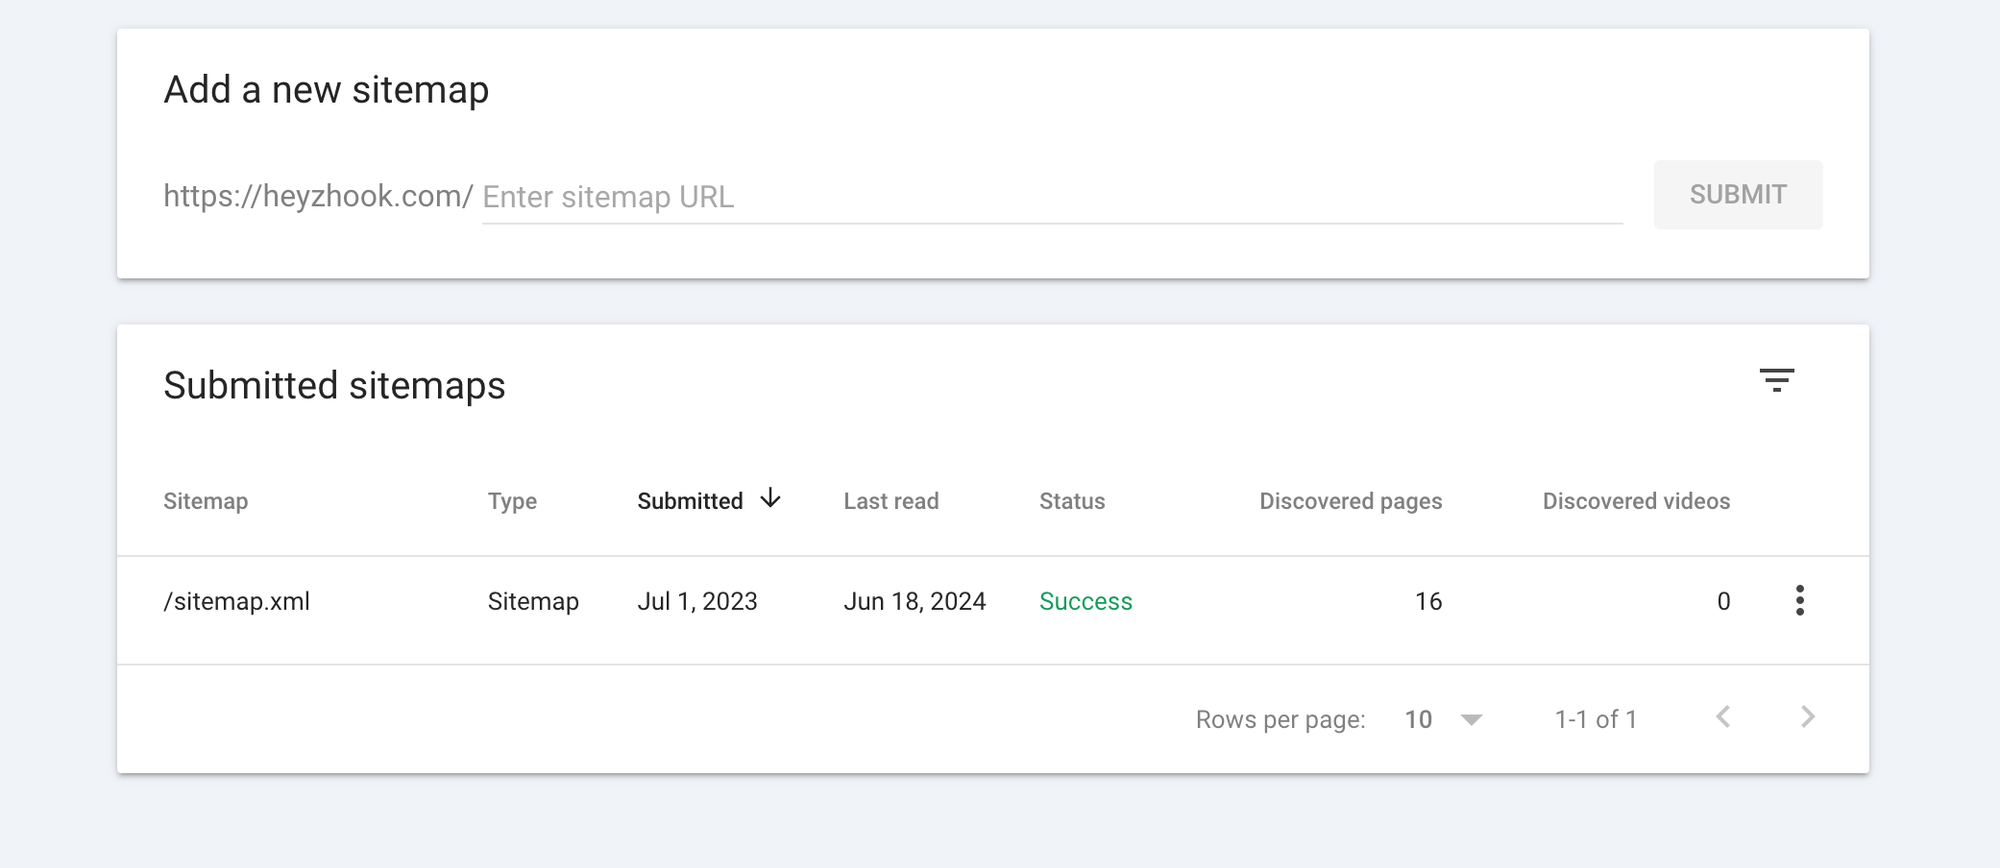
As you see, Google Search Console detected Indexly's sitemap and displayed all the pages that belong to the website. And you're done! 🖖
Conclusion
Well, that's it, you have now connected your website to Google Search Console. You can now view your website performance, and page analytics like impressions, clicks, and search position on Google.

Supercharge your SEO with Indexly
It usually takes a few weeks for a Google bot to crawl and index your website's pages. However, Indexly can simplify this process by automatically checking your sitemaps, finding new pages, and submitting them to Google Search Console.
This reduces human effort and errors and significantly improves indexing time. When your website's pages are indexed, they rank higher on search engines, ultimately boosting organic traffic.